The Appointment Book is the ultimate scheduling tool - allowing you to book, update, and process appointments in seconds. Each employee has their own column so that you can see their available slots and scheduled appointments.
You can access the Appointment Book by clicking ![]() on the toolbar or selecting Appointments > Appointment Book.
on the toolbar or selecting Appointments > Appointment Book.
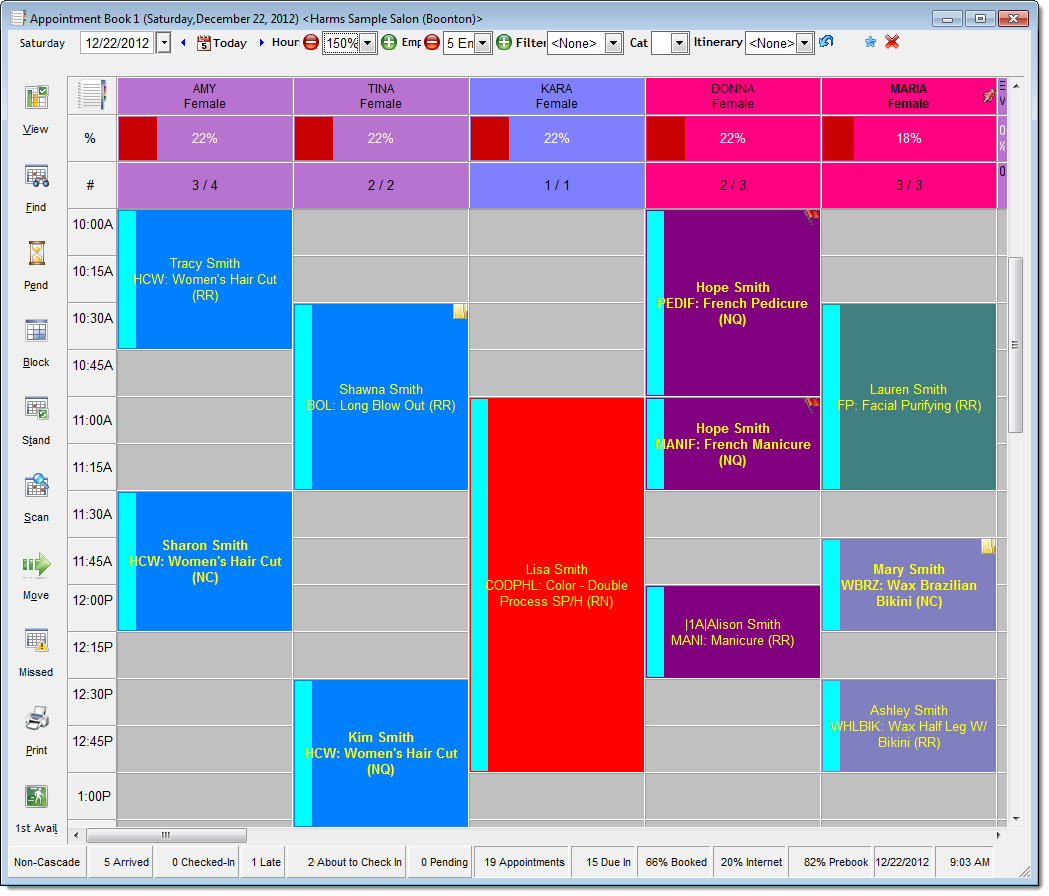
Using the Appointment Book is easy and you can book an appointment with a service provider by double-clicking on an available slot. Once you double-click an open slot, the Appointment Editor displays so you can enter details about the service(s) the client wants to schedule. To update an existing appointment, double-click on the appointment to open the Appointment Editor.
Following are descriptions of the features on the Appointment Book.


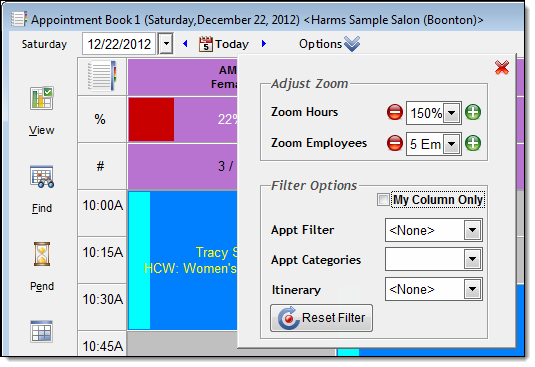
The navigation tools at the top of the Appointment Book allow you to customize the information that displays. These tools display differently based on the Hide appointment book toolbar inside an Option button preference on the Business Information window.
If you selected "YES" for this preference, you must click the Options button to display the navigation tools.
More Info: Click here to view descriptions of these navigation tools.
Date field = Controls the appointments that display on the Appointment Book. Today's appointments display by default and when you look at appointments in the past, the appointments not checked out display highlighted.
Today button = Click to redisplay the appointments for today. Click the blue arrow buttons either side of the Today button to move back or forward one day.
Zoom Hours field = Controls the number of time slots that display on the Appointment Book.
Zoom Employees field = Controls the number of employees that display on the Appointment Book.
My Column Only check box = Select to hide the appointments for other employees and only display your appointments.
Note: You can only select the My Column Only check box if you have the Show Name in Appointment Book option selected in your employee profile.
Appt Filter field = Allows you to select a filter and highlight specific types of appointments.
Example: Select the New Clients filter to highlight the appointments for new clients.
Appt Categories field = Allows you to select an appointment category and highlight the appointments in that category.
Example: If you created a "Bridal" appointment category for bridal parties, select "Bridal" to highlight the appointments for the clients in a bridal party.
Itinerary field = Allows you to select a group booking itinerary and highlight the appointments for clients in that group.
Reset Filter button = Click to update the Appointment Book with the latest real-time information and clear any search filters.
If you selected "NO" for this preference, the navigation tools display on a toolbar at the top of the Appointment Book.

More Info: Click here to view descriptions of these navigation tools.
Date field = Controls the appointments that display on the Appointment Book. Today's appointments display by default and when you look at appointments in the past, the appointments not checked out display highlighted.
Today button = Click to redisplay the appointments for today. Click the blue arrow buttons either side of the Today button to move back or forward one day.
Hours field = Controls the number of time slots that display on the Appointment Book.
Emp field = Controls the number of employees that display on the Appointment Book.
Filter field = Allows you to select a filter and highlight specific types of appointments.
Example: Select the New Clients filter to highlight the appointments for new clients.
Cat field = Allows you to select an appointment category and highlight the appointments in that category.
Example: If you created a "Bridal" appointment category for bridal parties, select "Bridal" to highlight the appointments for the clients in a bridal party.
Itinerary field = Allows you to select a group booking itinerary and highlight the appointments for clients in that group.
![]() button = Click to update the Appointment Book with the latest real-time information and clear any search filters.
button = Click to update the Appointment Book with the latest real-time information and clear any search filters.
Me button = Click to hide the appointments for other employees and only display your appointments.
![]() button = Click to view details of membership sales on the selected date.
button = Click to view details of membership sales on the selected date.
Note: Click here for instructions on how to configure the Hide appointment book toolbar inside an Option button preference.
The shortcut buttons on the left side of the Appointment Book allow you to access scheduling tools and utilities.
|
Button |
Description |
|
View |
Click to display the Employee View window so you can select filters to customize the list of employees that display on the Appointment Book. |
|
Find |
Click to display the Appointments for window so you can view details of the past and future appointments for a client. |
|
Pend |
Click to display the Pending Appointments window so you can add a client to the pending cancellation list. |
|
Block |
Click to display the Employee Block Time window so you can block off time for an employee to prevent appointments from being booked. |
|
Stand |
Click to display the Standing Appointments window so you can book standing appointments for a client. |
|
Scan |
Click to display the Scan for Opening window so you can search for the next available opening for a client. |
|
Move |
Click if you want to move an appointment on the date currently displayed. |
|
Missed |
Click to display the Missed Opportunity window so you can record a missed opportunity. |
|
|
Click to print a hard copy of the appointments scheduled on the date currently displayed. |
|
1st Avail |
Click to display the First Available Manager so you can search for available openings for a client. |
The Appointment Book features columns that display the available slots and scheduled appointments for each employee.
You can change the color of an employee's column using the Employee Heading Color setting in an employee's profile.
More Info: Click here for instructions on how to configure this setting.
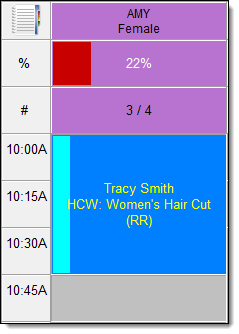
The following indicators display on each employee's column to provide key information about their appointments:
|
|
Employee's name and gender. |
|
|
Percentage of available slots booked with the employee. |
|
|
Number of clients and appointments scheduled with the employee on the day currently displayed. In this example, the employee has 3 clients and 4 appointments scheduled. |
You can define the column order on the Appointment Book using the Appointment Book Employees Re-Arrangement window.
More Info: Click here for instructions on how to change the column order on the Appointment Book.
You can also change the column order by clicking Cascade or Non-Cascade on the Status bar.
Click Cascade to display the employee columns based on schedule, with the employees starting work the earliest listed first.
Click Non-Cascade to display the employee columns in the usual order, as defined on the Appointment Book Employees Re-Arrangement window.
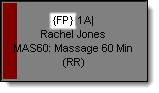
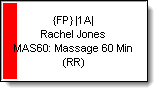
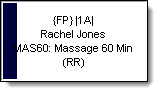
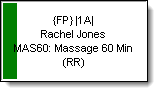
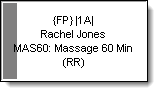
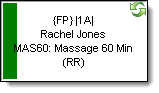
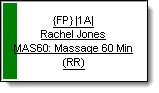
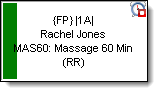
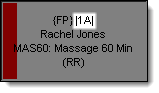
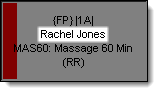
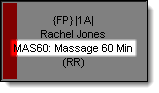
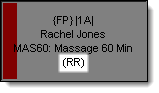
When you schedule an appointment, the following details display to relay important information about the appointment.
|
|
{NP} = No Preference {FP} = Female Preferred {MP} = Male Preferred {FO} = Female Only {MO} = Male Only |
Number of add-on services booked
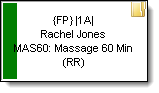
The color scheme for an appointment varies based on whether you assign an appointment category to the appointment.
If you do not assign an appointment category, the appointment uses the color scheme for the service class of the scheduled service.
If you assign an appointment category, the appointment uses the color scheme for the selected appointment category.
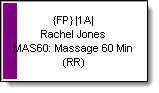
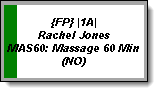
The format of the text for an appointment varies based on the options defined for the appointment type assigned to the appointment. The text for an appointment can display in bold, italics, lower case, and/or UPPER CASE.
The following indicators show the confirmation status of an appointment.
|
Red bar = Appointment not confirmed.
|
Navy bar = Client does not want to receive confirmations.
|
|
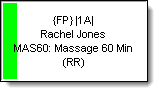
Dark Green bar = Appointment confirmed with the client over the telephone.
|
Purple bar = Appointment confirmed with the client on their cell phone.
|
|
Lime Green bar = Appointment confirmed with a voice mail message.
|
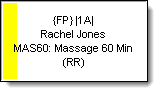
Yellow bar = Appointment not confirmed but a voice mail message was left.
|
|
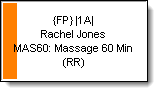
Orange bar = Appointment confirmed by email.
|
|
You can send automated confirmations if you have an account with TeleVox and have set up the Millennium Auto-Confirm Service. A teal bar displays to indicate that the client received an automated confirmation.
More Info: Refer to the Millennium Services Setup Guide for instructions on how to set up the Millennium Auto-Confirm Service.
You can send text message confirmations if you have an account with Upside Wireless and have set up the Millennium SMS Service. Clients can reply to these text messages to confirm their attendance or cancel their appointment. The following indicators show the confirmation status for appointments that use a text message confirmation.
|
Gray bar = Text message confirmation sent.
|
Dark Green bar = Client received a confirmation and replied "Y" to confirm the appointment.
|
|
Navy bar = Client received a confirmation and replied "N" to cancel the appointment.
|
|
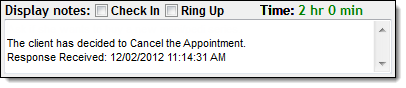
Note: If a client received a confirmation and replied "N" to cancel the appointment, Millennium does not remove the appointment from the Appointment Book but adds the following note to the appointment record.
More Info: Refer to the Millennium Services Setup Guide for instructions on how to set up the Millennium SMS Service.
The following indicators show the status of an appointment.
|
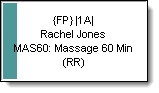
Cyan bar = Prebooked appointment.
|
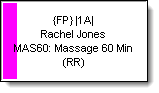
Pink bar = Scheduled through Online Booking.
|
|
Folder icon = New client.
|
Gray outline = Non-request appointment.
|
|
Two Blue arrows = Standing appointment.
|
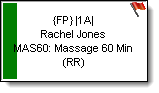
Red Flag icon = Client has multiple appointments.
|
|
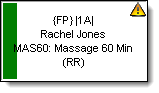
Caution icon = Appointment is double-booked.
|
Underlined text = Client has checked in.
|
|
Clock icon = Client is running late.
|
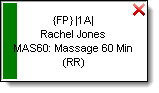
X icon = Client did not show up.
|
|
Strikethrough text = Client has checked out and paid.
|
|
You can right-click on an employee's name at the top of a column and select the following options:
|
Option |
Purpose |
|
Edit/View Employee Information |
View the employee's profile. |
|
Go To Employee |
Select to display a specific employee's column. |
|
Employee Schedule: Month View |
View the employee's monthly schedule |
|
Employee/Prices |
View the prices of the services performed by the employees. |
|
Employee's Global Appointments |
View the appointments for the employee across all locations. Note: You can only use this feature if you use the Call Center Booking interface at your business. |
|
Print This Appointment Grid |
Print the appointments for the selected employee or all employees. |
You can right-click on an appointment and select the following options:
|
Option |
Purpose |
|
Add/Edit Appointment |
Book a new appointment or edit the selected appointment. |
|
Confirm |
Select a confirmation status for the appointment. |
|
Reminder |
Send a text message and/or email reminder for the appointment. Note: You must set up appointment reminders before you can use this feature. Click here for instructions. |
|
Arrived |
Mark the client as arrived for their appointment. |
|
Check-In |
Check in the client for their appointment. |
|
Ring-Up/Check-Out |
Check out the client and collect payment for the services that they received. |
|
Move |
Move a single appointment to another day or employee. |
|
Intelli-Move |
Move multiple appointments to another day or employee. |
|
No Show |
Mark the client as a no-show for their appointment. |
|
Running Late |
Mark the client as running late for their appointment. |
|
Delete Appointment |
Cancel the appointment without selecting a cancellation reason. |
|
Cancel with Reason |
Cancel the appointment by selecting a cancellation reason. |
|
Group View |
View the appointments for all clients. |
|
Client |
View the client's profile, formulas, purchase history, and contact telephone numbers or send the client an email. |
|
Find Future Appts For This Client |
View the client's future appointments. |
|
Service/Prices |
View the employee-specific prices and times for a service. |
|
Employee/Prices |
View the service prices and times for an employee. |
|
Go to Employee |
View the employee profile of the service provider for the selected appointment. |
|
Tools |
Access advanced features such as the Pending Cancellation and Scan for Opening windows. |
|
Block Time |
Block off time for a break to prevent appointments from being booked. |
|
Single Block Editor |
Edit the time blocked off for an employee. |
|
Go To Date |
Change the Appointment Book to display appointments for today, yesterday, tomorrow, or a certain number of weeks from today. |
|
Print This Appointment Grid |
Print the appointments for the selected employee or all employees. |
|
Print This Work Ticket |
Print a work ticket for the selected client. |
The Status bar displays real-time statistics for the appointments on the day currently displayed.

|
Statistic |
Description |
|
Cascade/Non-Cascade |
Click Cascade to display the employee columns based on schedule, with the employees starting work the earliest listed first. Click Non-Cascade to display the employee columns in the usual order. |
|
Arrived |
Number of clients that have arrived for their appointment. Click this statistic to view details for the clients. |
|
Checked-In |
Number of clients checked in for their appointment. Click this statistic to view details for the clients. |
|
Late |
Number of clients more than 15 minutes late for their appointment. Click this statistic to view contact details for the clients. |
|
About to Check In |
Number of clients with an appointment due to start in the next 15 minutes. Click this statistic to view details for the clients. |
|
Pending |
Number of clients on the pending cancellation list for the selected date. The pending cancellation list contains a list of clients who you can contact when an opening occurs due to a cancellation. Click this statistic to view details for the clients on standby. |
|
Appointments |
Number of appointments scheduled. |
|
Due In |
Number of clients due in for an appointment. |
|
% Booked |
Percentage of bookable time booked. If this percentage is 100%, all service providers are fully booked and you have nobody available to take on walk-in clients. |
|
% Internet |
Percentage of clients that scheduled their appointment through Online Booking. |
|
% Prebook |
Percentage of clients that prebooked their appointment. |
related links
Resource Appointment Book Overview
Appointment Monitoring Station Overview
© 2017 Millennium by Millennium Systems International. All rights reserved.