Click ![]() on the toolbar.
on the toolbar.
Click ![]() on the toolbar.
on the toolbar.
The Register displays.
In the Paying Client field, type the client's name in "lastname,firstname" format and press Enter, or double-click in the field and locate the client's profile using the Quick Search window.
The client's details display.
The Membership Sale Wizard displays.
In the Select Membership field, select the membership the client wants to purchase.
In the Sold By field, select the employee to credit with the sale.
In the Valid From field, select the date when the client intends to start using the membership.
Complete the following as necessary:
Click the Step 2 - Primary Member tab and complete the following:
In the Primary Member field, type the name of the client who is going to use the membership.
Tip: Press Ctrl+l to insert the name of the paying client into the Primary Member field.
Click Auto-Generate Member # to automatically assign a membership number, or type a membership number in the Member Number field.
If the membership requires the client to pay monthly dues, click the EFT/ACH tab and enter the client's credit card or bank account details.
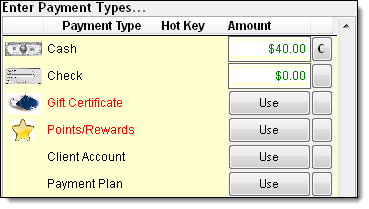
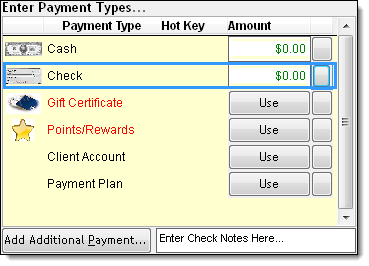
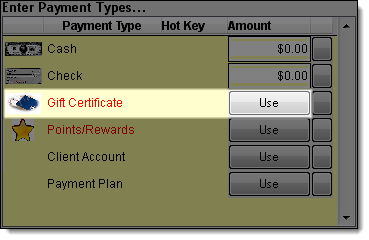
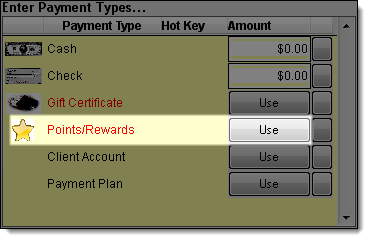
Select one of the following options:
If you need to sell an add-on membership, click the Step 3 - Add-On Member tab and proceed to Step 9.
If you do not want to sell an add-on membership or the membership does not allow add-on members, proceed to Step 10.
Complete the following for each add-on member:
Click New Add-on.
In the Member's Name field, type the add-on member's name in "lastname,firstname" format and press Enter, or double-click in the field and locate the client's profile using the Quick Search window.
Click Auto-Generate Member # to automatically assign a membership number, or type a membership number in the Member Number field.
If the membership requires the add-on member to pay monthly dues, click the EFT/ACH tab and enter the add-on member's credit card or bank account details. Select Bill to Primary if you want to bill the dues for the primary and add-on member(s) to the primary member's credit card/bank account.
Click Save.
Click X .
Click OK.
Click Sale.
If the Change Due window displays, click Ok to finalize the transaction.
If the Payment Types window displays, proceed to Step 14.
Tip: If the Documentation Control window displays after you finalize the payment, click Print Selected Forms/Policies to print a hard copy of the membership forms, or click .Mail to send the membership forms to the client's email address.
Viewing Membership Sales Statistics