-
Select Start > Administrative Tools > Manage Your Server.
The Server Manager displays.
-
Click Add or remove a role.
The Configure Your Server Wizard displays.
-
Click Next.
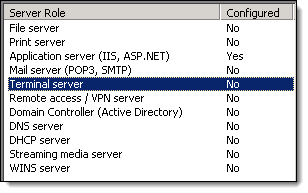
The Server Role screen displays.
-
Select Terminal server and click Next.
The Summary of Selections screen displays.
-
Click Next and click OK.
The installation begins and the server restarts.
-
Access Windows with an administrator account.
The Configure Your Server Wizard displays.
-
Click Finish.
-
Select Start > Run.
The Run window displays.
-
Type "appwiz.cpl" and press Enter.
The Add or Remove Programs window displays.
-
Click Add/Remove Windows Components.
The Windows Components Wizard displays.
-
Select Terminal Server Licensing and click Next.

The Terminal Server Licensing Setup screen displays.
-
Click Next.
The Completing the Windows Components Wizard screen displays once the installation finishes.
-
Click Finish.
-
Select Start > Administrative Tools > Terminal Server Licensing.
The Terminal Server Licensing Manager displays.

-
Right-click on your server and select Activate Server.
The Terminal Server License Server Activation Wizard displays.
-
Click Next twice.
The Company Information screen displays.
-
Enter your details and click Next twice.
The Completing the Terminal Server License Server Activation Wizard screen displays.
-
Click Next.
The Terminal Server CAL Installation Wizard displays.
-
Click Next twice.
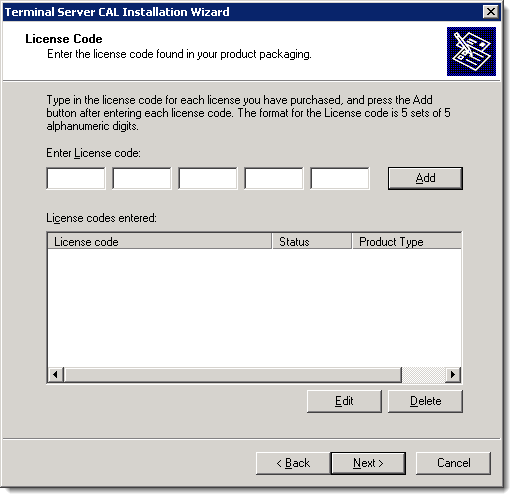
The License Code screen displays.
-
Complete the following for each Terminal Services client access license (TS CAL) that you purchased:
-
In the Enter License code fields, type the license code for the TS CAL.
-
Click Add.
-
Click Next.
The Completing the Terminal Server CAL Installation Wizard screen displays once the installation of the TS CALs is complete.
-
Click Finish.
-
Click here to proceed with the next step of the setup.


-
Select Start > Administrative Tools > Server Manager.
The Server Manager displays.
-
Click Roles.
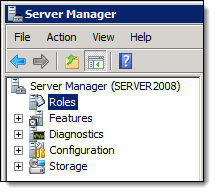
The Roles screen displays.
-
Click Add Roles (highlighted below).

The Add Roles Wizard displays.
Tip: Click Next if the Before You Begin screen displays.
-
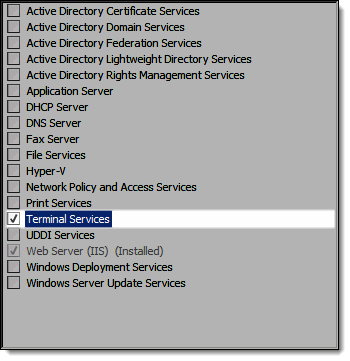
Select Terminal Services and click Next twice.
The Select Role Services screen displays.
-
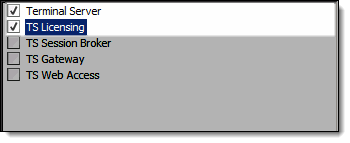
Select Terminal Server and TS Licensing and click Next twice.
The Specify Authentication Method for Terminal Server screen displays.
-
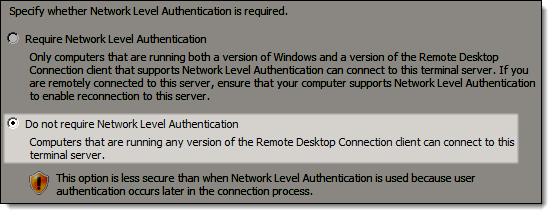
Select Do not require Network Level Authentication and click Next.
The Specify License Mode screen displays.
-
Select Per User and click Next three times.

The Confirm Installation Selections screen displays.
-
Click Install.
The Installation Results screen displays once the installation is complete.
-
Click Close and click Yes.
The server restarts.
-
Access Windows with an administrator account.
The Resume Configuration Wizard displays and the Installation Results screen displays once the installation is complete.
-
Click Close.
-
Select Start > Administrative Tools > Terminal Services > TS Licensing Manager.
The TS Licensing Manager displays.

-
Right-click on your server and select Activate Server.
The Activate Server Wizard displays.
-
Click Next twice.
The Company Information screen displays.
-
Type your details and click Next twice.
The Completing the Activate Server screen displays.
-
Click Next.
The Install Licenses Wizard displays.
-
Click Next twice.
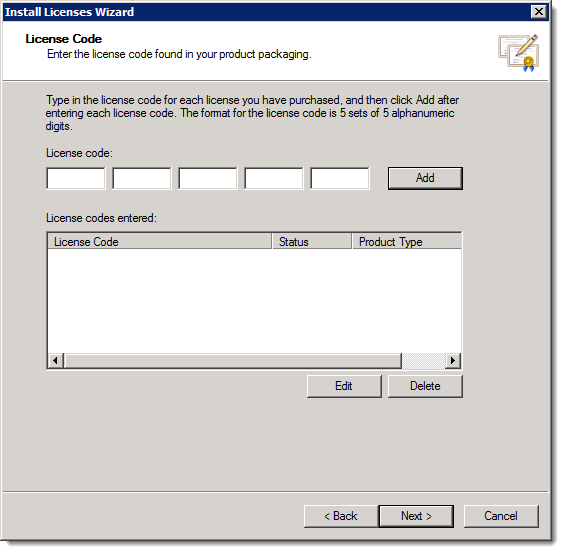
The License Code screen displays.
-
Complete the following for each Terminal Services client access license (TS CAL) that you purchased:
-
In the License code fields, type the license code for the TS CAL.
-
Click Add.
-
Click Next.
The Completing the Install Licenses Wizard screen displays once the installation of the TS CALs is complete.
-
Click Finish.
-
Click here to proceed with the next step of the setup.