The final step is to configure the Millennium Report Scheduler Service.
Complete one of the following:
If you are not using the basic edition of Windows 8, access Windows with an administrator account.
If you are using the basic edition of Windows 8, access Windows with the Administrator account.
Open the Control Panel.
Click Devices and Printers.
Make sure the printer you intend to use for printing reports displays. If the printer does not display, add the printer to the list using the Add Printer Wizard.
Important: If you do not install a printer, you will not be able to print hard copies of reports using the Report Scheduler.
Complete one of the following:
Select Start > Programs > Harms Software Inc > Millennium Report Scheduler Service > Millennium Report Scheduler Service Configuration.
On the Start screen, type "report scheduler config" and press Enter.
The Millennium Report Scheduler Service Configuration window displays.
Select This account.
Complete one of the following:
If you are not using the basic edition of Windows 8, type the login credentials for an administrator account in the This account and Password fields.
If you are using the basic edition of Windows 8, type the login credentials for the Administrator account in the This account and Password fields.
Select one of the following options:
If there is only one Millennium database on the computer, proceed to Step 10.
If there are multiple Millennium databases on the computer, proceed to Step 9.
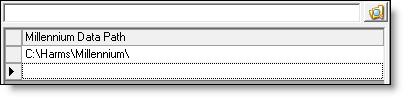
Complete the following for every Millennium database:
Click the empty field in the Millennium Data Path section.
Click ![]() .
.
The Browse For Folder window displays.
Locate and select the Millennium folder for the database.
Click OK.
Click OK.
Click Yes.
The Millennium Report Scheduler Service starts and the setup is complete.
More Info: Refer to the Reports User Guide for instructions on how to use the Report Scheduler to schedule reports to run automatically.